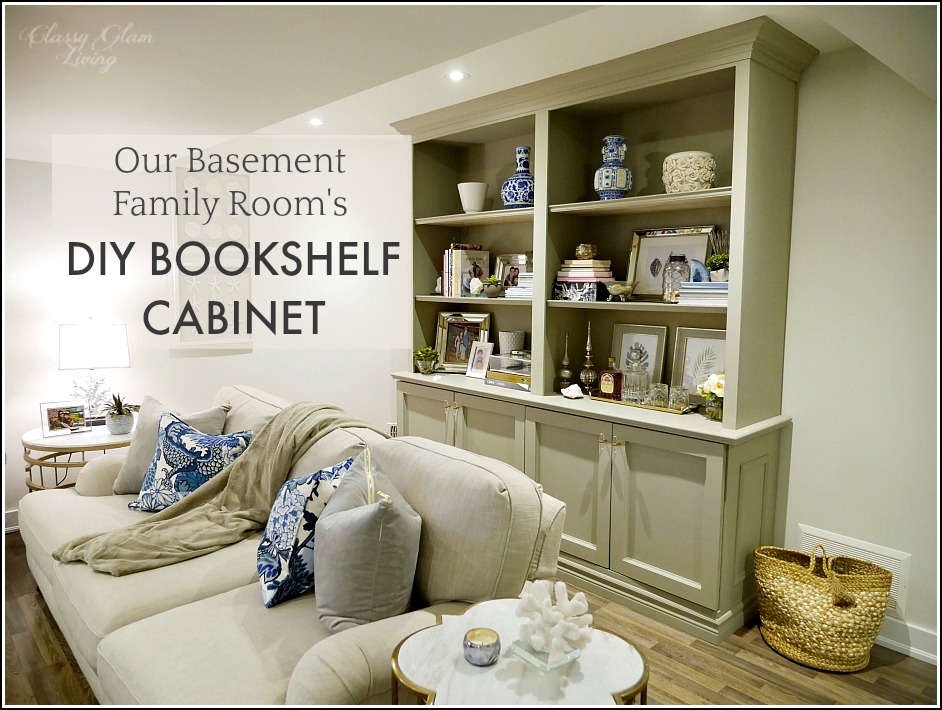
Our Basement Family Room's DIY Bookshelf Cabinet

DIY BOOKSHELF BUILT-IN CABINET  | CLASSY GLAM LIVING

Like any one who has just moved into their new home (for us, that was 3 years ago 😆), there would inevitably still be unopened boxes in storage.  With my staging business in full swing, I currently use some of our basement storage for my staging supplies, and the need for additional storage space has become even more pressing.  To make space for my staging supplies, the Mr. moved our unpacked boxes out to the basement's finished area...  and the basement became an eye sore:

storage problem.jpg

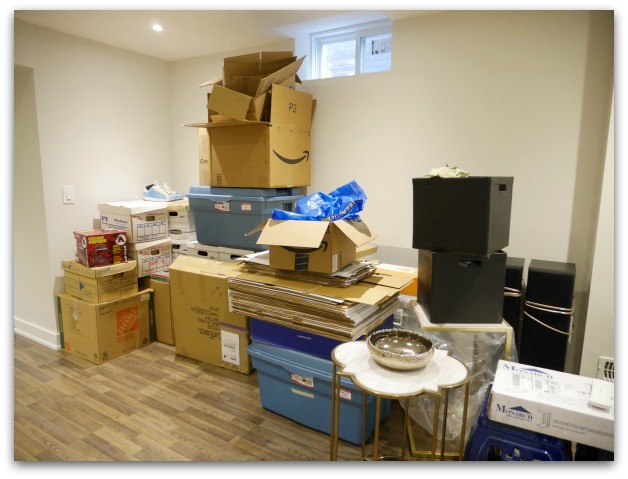
Having these boxes out in the open triggered the Mr.'s OCD, pushing him to move forward with our planned DIY storage cabinet...  which otherwise might have been put on the back burner.

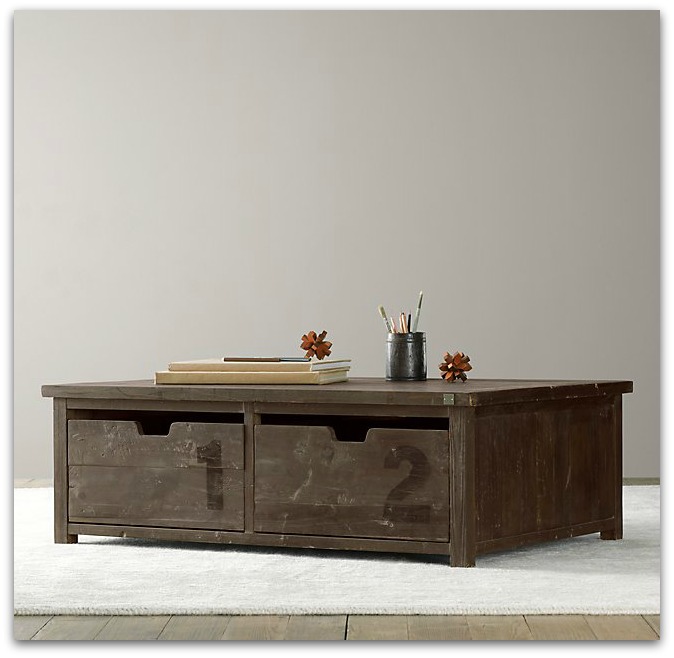
This rendition below was the planned furniture layout for our basement family room.  The bookcase is the DIY storage cabinet, which is to be located beside the all-purpose table area.  (You can read more about our basement layout here). 

family room view to eating.jpg

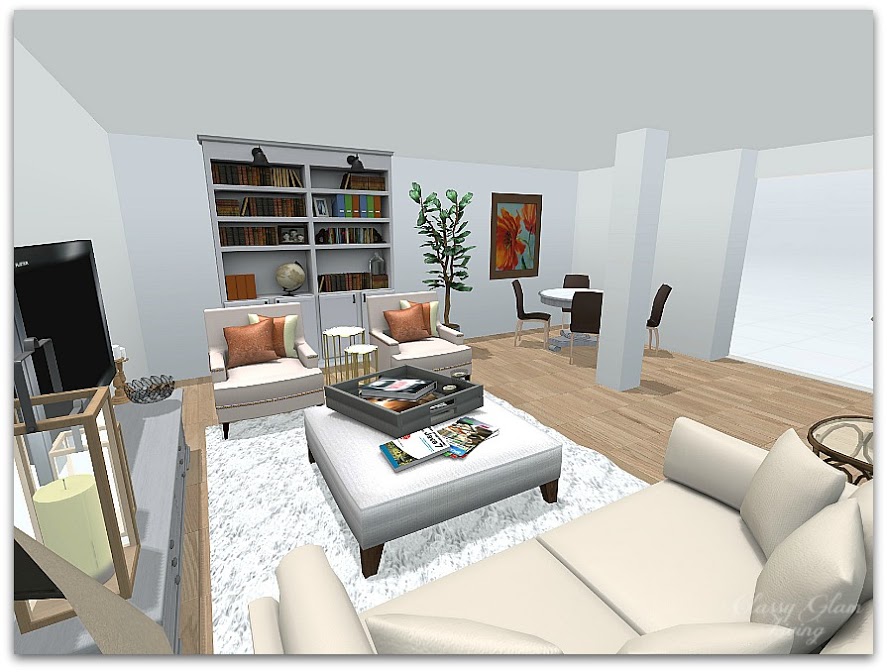
In my post about the basement layout plan, I asked readers if you would want to see a built-from-scratch cabinet or an IKEA hack with the Besta.  The results were overwhelmingly for a build from scratch cabinet.  Well, with the venting holes on the wall of either side of the bookcase, it would be more work for the Mr. to hack the Besta than to build from scratch.  That was an easy decision for him.

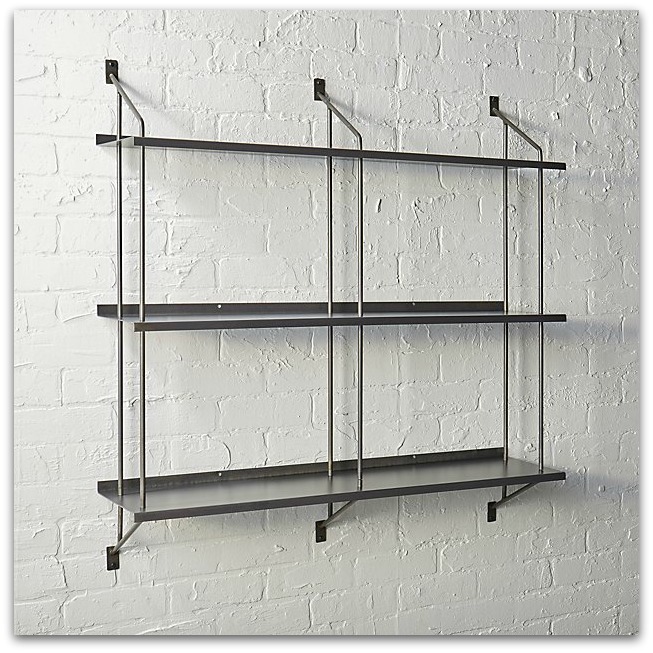
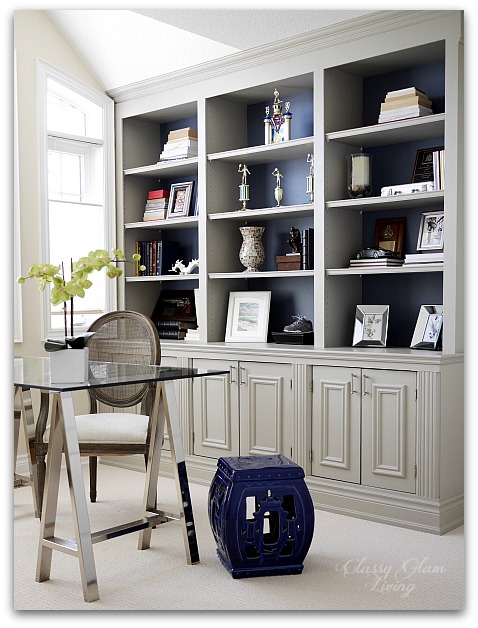
We loved the design of our previous home office's DIY cabinet, and re-used that with some tweaks.   The new unit is not as wide as the previous unit, so instead of 3 columns, it would be made of 2 wider columns.

DIY BOOKSHELF BUILT-IN CABINET  | CLASSY GLAM LIVING

The Mr. worked too fast sometimes that I couldn't capture his progress in photos.  I put together a video with whatever photos I have of his DIY progress.  It always blows my mind how much planning he puts into each build, and of course, all his hard work in actually building the unit.  

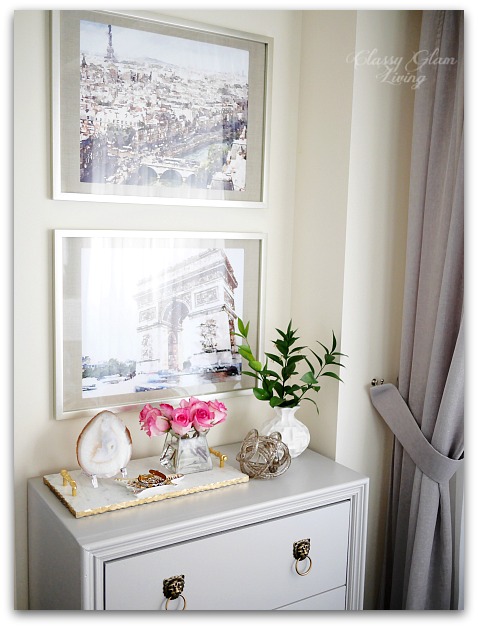
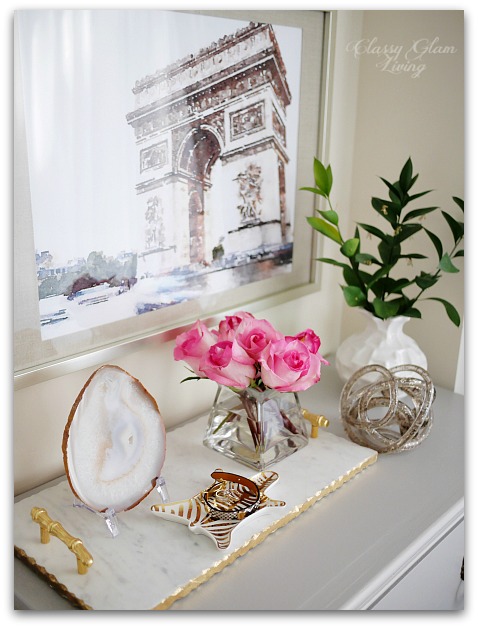
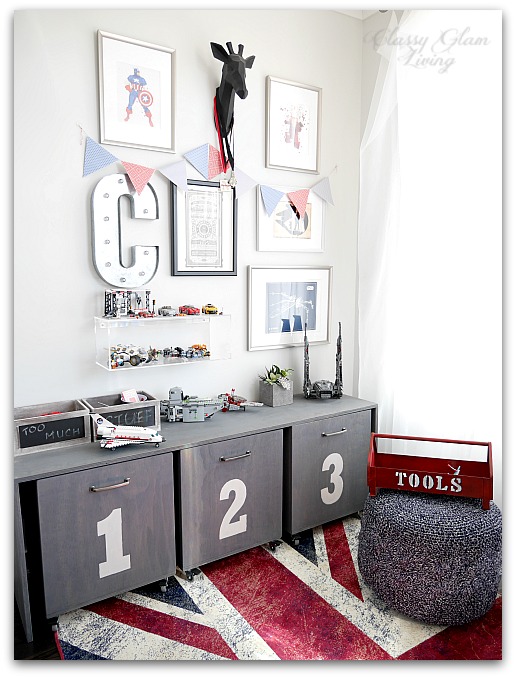
I love how this storage unit turned out!  Not only is it a much needed storage cabinet, but it also allows us to display our family momentos.  Well, and the Mr. is just relieved that it's done so we could unpack those boxes!  After another round of purging, those boxed items are now residing in the bottom compartments.   

DIY BOOKSHELF BUILT-IN CABINET FRONT VIEW | CLASSY GLAM LIVING
DIY BOOKSHELF BUILT-IN CABINET SIDE VIEW | CLASSY GLAM LIVING

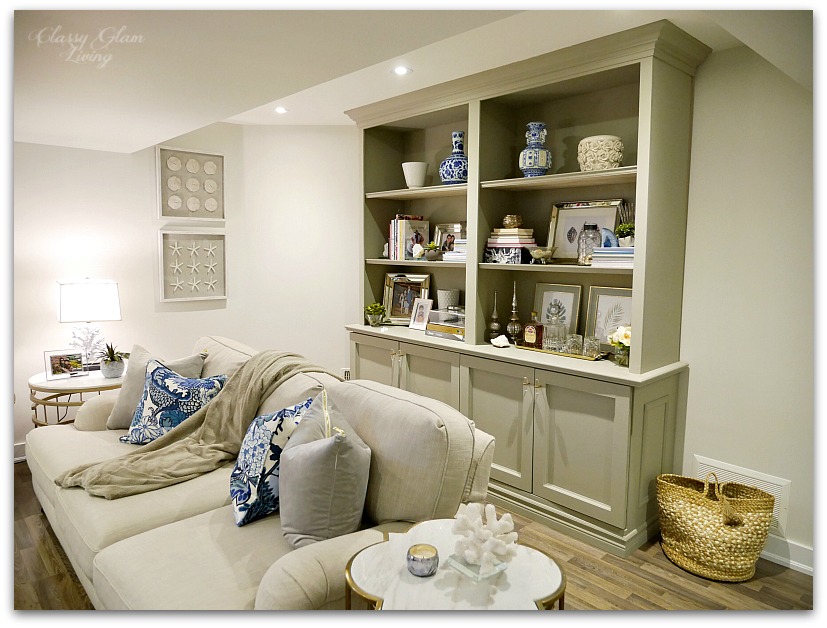
Now that those boxes are gone, our basement family room is finally a space that we can truly enjoy.  Even with nothing to watch on TV most nights, the Mr. and I still prefer to hang out on the couch down here.  

DIY BOOKSHELF BUILT-IN CABINET ROOM VIEW | CLASSY GLAM LIVING

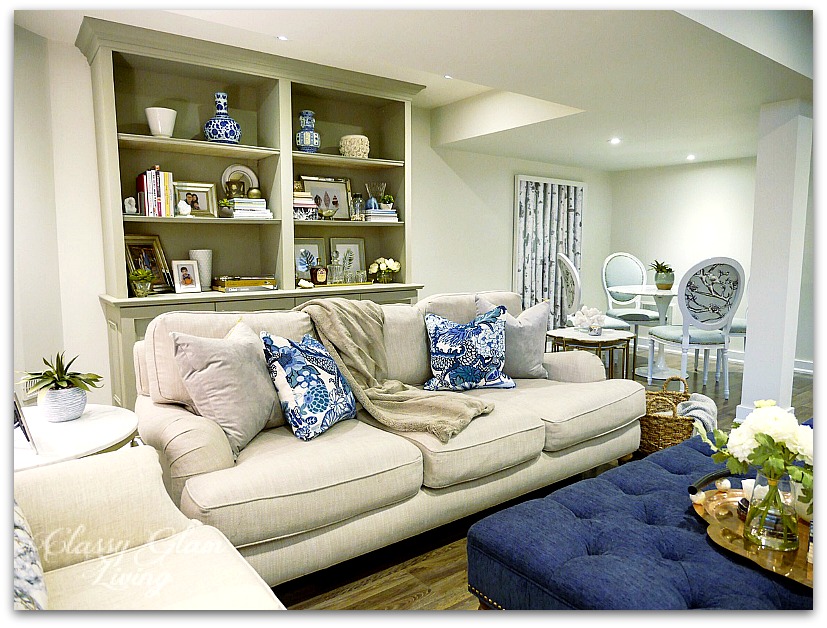
We would like to send a big thanks to Homesense, who have been so generous in sponsoring some accessories for styling this bookcase (and the rest of our family room)!  

DIY BOOKSHELF BUILT-IN CABINET ROOM VIEW 2  | CLASSY GLAM LIVING

Check back soon, as I'll share tips on how I styled our bookcase!  

DIY Drop Zone Storage Cabinet with Drawers

Has the new year sprung the organization bug in you?  We all yearn for a fresh start at the beginning of a year, and the best place to start is by decluttering our home.  Clutter is perhaps the #1 enemy of any household, and the best resolution is to have a designated spot for every little thing.

DIY Drop zone storage cabinet with drawers 1 | Classy Glam Living

My ideal situation would be to have a designated storage space for all items, and they would be put back to where they belong after each use.  Again, that's the ideal, and our home is far from that.  Our entrance by the garage has long been a drop zone right after we walk through the door.  Sometimes clutter would find themselves extending beyond there and onto our coffee table and kitchen countertop.

DIY Drop zone storage cabinet with drawers | Classy Glam LivingDIY Drop zone storage cabinet with drawers 2 | Classy Glam Living
DIY Drop zone storage cabinet with drawers 3 | Classy Glam Living

I can't begin to tell you how the addition of the drawers cabinet at our drop zone has brought me sanity!  It has stopped incoming clutter right at the door and into the drawers.  Instead of a messy drop zone, it's now a gorgeous little nook.  Inside the drawers are notepads and stationery, folders for mail, battery organizers, etc.  It's the little things that make life easier, and I know where to find them when they're needed.  I'm sure I can organize the drawers better, but at least the mess is now out of sight. 

Again, I have to thank the Mr. for whipping up this little guy.  As mentioned in this post, finding the right cabinet at the right budget, style and dimensions was almost impossible.  I tried not to go too wild with the design of this piece...  I do want the Mr. to say "yes" when I have another build!  You can check out the design inspirations here.

DIY Drop zone storage cabinet with drawers 4 | Classy Glam Living

Okay, enough of my rambling...  here's the video of the DIY process of this storage cabinet.

I was so glad we found alternate legs for the cabinet, and they go with the overall style much better than the thin legs.   

DIY Drop zone storage cabinet with drawers 5 | Classy Glam Living

What do you think is the worst culprit for clutter around the house?  How do you deal with clutter coming into the house? 

You can shop the rest of the decor accessories at the drop zone cabinet nook right here:

DIY Playroom Workbench/ Storage Unit

DIY Playroom Workbench + Storage Unit  1 | Classy Glam Living

The new season brought to our house a series of organizational projects.  While the Mr. is busy finishing up our entryway drop zone storage unit, I should document another much-needed piece that he had completed.  That is, the sanity-saving storage unit for little man's playroom.

As mentioned here, we've dedicated the small bedroom beside little man's room as the playroom, which is a great idea so we can keep his toys contained in just one space.

The playroom is relatively small, and with an existing desk, there is not enough space for storage and small play table.  We needed a 2-in-1 piece here!  The toy storage unit was designed to provide a workbench (for Lego'ing) and storage pull-out bins underneath.  It's a similar idea to IKEA's pull out storage...

IKEA STUVA toy storage bench

IKEA STUVA toy storage bench

... and in combination with Restoration Hardware's rustic/ industrial toy storage activity table:

Restoration Hardware

Restoration Hardware

Restoration Hardware

Restoration Hardware

It's a simple industrial-inspired utilitarian piece that serves its purpose.  Nothing fancy.

The Mr. had previously completed the work bench portion of this unit, as posted here:

The storage bins were finished a while ago, and I'm so glad to finally be able to clean up the playroom (somewhat) to show you!

DIY Playroom Workbench + Storage Unit  3 | Classy Glam Living

The pull-out bins are just wooden boxes on castors.  Again, totally utilitarian, and something "easy" for the Mr. to put together.  The bins fit board games in #1, more Lego boxes in #2 and even Nerf guns in bin #3.

The entire unit was stained in Minwax Classic Grey, which is my favourite stain that gives a somewhat Restoration Hardware look.

DIY Playroom Workbench + Storage Unit  4 | Classy Glam Living

After the Mr. stained the bins, I stencilled the numbers (downloaded this font) on them using chalk paint.

DIY Playroom Workbench + Storage Unit  5 | Classy Glam Living
DIY Playroom Workbench + Storage Unit  6 | Classy Glam Living

I didn't want to spend too much on the bin pulls, and these are just right for my budget.  I like the thickness of this pull for little man's small hands, and this antique nickel finish is the perfect pewter for the piece.

DIY Playroom Workbench + Storage Unit  7 | Classy Glam Living
DIY Playroom Workbench + Storage Unit  8 | Classy Glam Living

Here's little man assembling another Lego set, making full use of the work bench.

DIY Playroom Workbench + Storage Unit  9 | Classy Glam Living

It's more practical to use bins on castors than drawers, so he can wheel them all the way out to maximize his workspace and leg room.

Well, I thought the playroom is done with the completion of this unit.  As little man grows up, his toys collection grows with him; specifically, his Lego collection.  It's just a waste to disassemble the kits and mix the pieces with everything else...  you know how pricey Lego kits are!  Just see how crammed all his Legos are on his bench in the photo above...  and those are not even all of them!

Instead of cramming his entire Lego collection on the work bench, we decided to install a display shelf on the opposite wall.  

I love the industrial vibe of this shelf and it goes well with the overall look of the playroom.

It's a good size for the wall that used to house a canvas art and art display frame:

Playroom Art display gallery wall | Classy Glam Living

For now, this wall shelf would be used to display his Lego collections and whatever he wants to showcase.  When he eventually grows out of his toys, the shelf can perhaps be used for books...  or other collections of "cool stuff".

Playroom CB2 Stretch Modular Wall Shelf | Classy Glam Living

And with this display shelf in place, we can finally call this playroom COMPLETE.  Many thanks again to the Mr. for building the storage unit, which is just the perfect size for this tiny room!

To see more of little man's space, here's the post of his big boy bedroom.  It was also featured on Shutterfly as one of 75 Cheerful Boys' Bedroom Ideas.  

Shop the post here: